


DIY Reclaimed Wood Shelf: A Step-by-Step Guide for Beginners
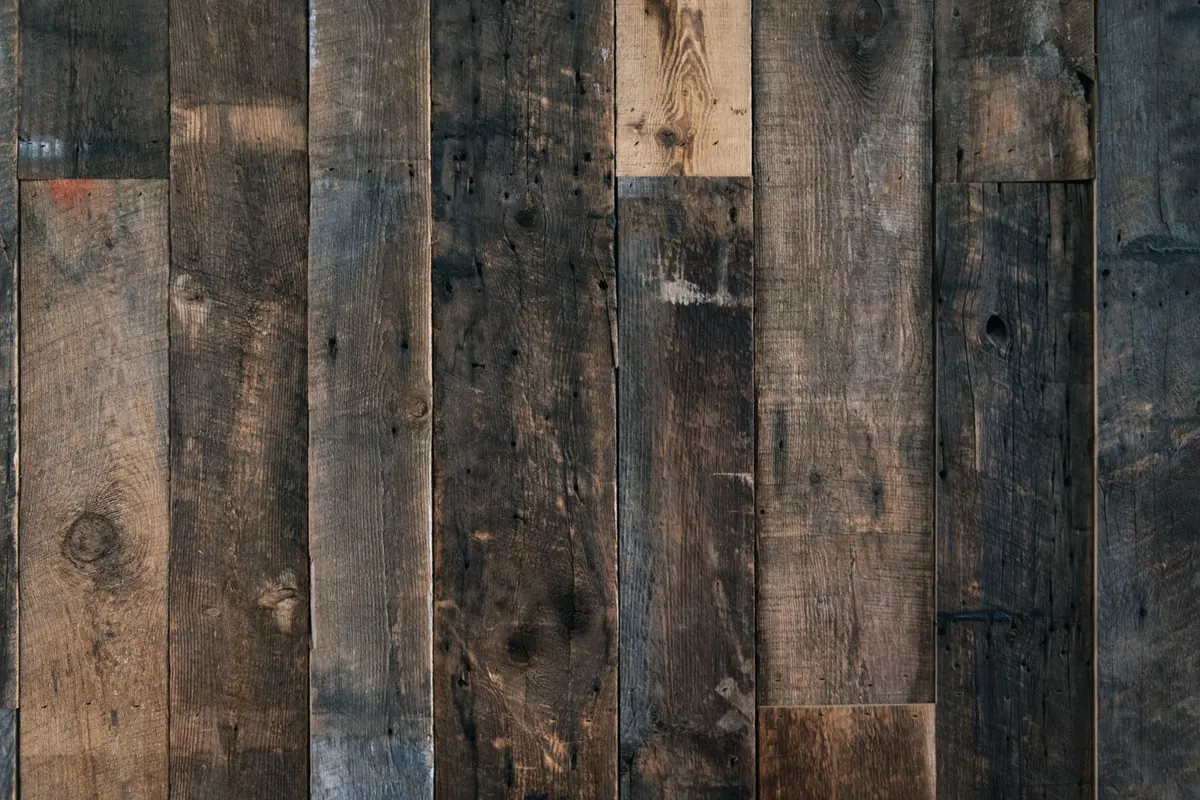
Reclaimed timber arrives with a head start. Every knot, nail hole and faded patch of old paint is already there, so a finished shelf looks as though it has a history rather than a price tag. Better still, a simple shelf — one board, two brackets, a handful of screws — is one of the few carpentry jobs that genuinely suits a beginner. Get the measuring right, take your time over the finish, and you will end up with something worth keeping on the wall for years. Here is the whole process, start to finish.
Choosing the Right Piece of Reclaimed Wood
Reclamation yards, salvage centres and architectural antiques places are the obvious starting points, but old floorboards, scaffolding boards, pallet timber and the carcass of a discarded chest of drawers can all work. Ask before taking anything from a skip or a building site.
Thickness is the first thing to judge. For a shelf around a metre long, look for a board at least 20mm thick — thinner timber will bow under the weight of books. Check that it is straight along its length, dry to the touch, and free from rot, which shows up as soft, crumbly patches you can push a screwdriver into. Fine holes with fresh dust around them mean active woodworm, so leave that piece where it is.
Old paint deserves a moment's thought. Paint on very old timber can contain lead, so avoid dry-sanding it indoors; work outside with a suitable mask, or seal the surface rather than stripping it. Pallet wood is usually fine if it is stamped HT (heat treated). Avoid boards stamped MB, and give any pallet a good scrub, since you have no idea what it once carried.
Measuring, Planning and Finding Your Fixings
Decide what the shelf is for before you cut anything. A 15–20cm depth suits ornaments, candles and small plants; anything holding books wants closer to 25cm. For height, somewhere around eye level works well for display, while a shelf above a desk usually sits 40–50cm up.
Mark a level line on the wall with a spirit level and pencil, then run a cable and pipe detector along it. Hitting a water pipe with a drill bit is a bad afternoon. Where possible, screw brackets into wall studs; in solid brick or block, use the correct masonry bit and wall plugs. Plasterboard alone needs proper cavity fixings rated for the weight.
Bracket spacing keeps a shelf honest. As a rough guide, keep brackets about 60–70cm apart on a 20mm board, and bring them closer together if the shelf will carry anything heavy. A long shelf with three brackets will always feel more solid than one with two.
Tools and Materials You'll Actually Need
- Tape measure, pencil, try square and spirit level
- A fine-tooth handsaw, or a circular saw if you have one
- Sandpaper in 80, 120 and 180 grit, or a random orbital sander
- A drill with wood and masonry bits, plus a countersink bit
- Screws around 35–40mm for a 20mm board, and matching wall plugs
- Brackets — metal L-brackets, scaffold board brackets or timber battens
- Clamps to hold the timber steady while you cut
- Dust mask and safety glasses
- Finishing oil, wax or paint, and a lint-free cloth
Cutting and Prepping the Timber
Start by removing old nails, staples and screws. A magnet makes short work of finding them, and pincers or a punch will shift the stubborn ones. Scrub the board with a wire brush to lift dirt and flaking paint, then brush it down.
Measure twice and mark with a pencil and try square, allowing for the overhang you want beyond each bracket. Run a strip of masking tape over the cut line — it helps stop the surface splintering. Cut on the waste side of the line, supporting both halves of the board so it does not drop and tear as you finish the stroke. Let the saw do the work rather than forcing it. If you would rather not cut it yourself, most timber merchants will do it for a small charge; it is money well spent if the board is hardwood.
Give the cut ends and the front edges a light sanding to soften the arris. Sharp edges look unfinished and feel unpleasant.
Finishing the Wood
Sand in stages: 80 grit to remove roughness, 120 to refine, then 180 to smooth. Work along the grain, and stop before the timber loses its character — those dents and marks are the point.
Dust off thoroughly with a brush and a barely damp cloth, then let the wood dry. Finishing options are mostly a matter of taste: clear oil deepens the colour and keeps a matte look, wax gives a soft sheen, and paint is the practical choice if the timber is patchy. Always test on the underside first, because reclaimed wood can react unpredictably to a finish.
For oil, apply thin coats with a cloth, leave as directed, then wipe off the excess. Two or three coats, spaced a day apart, is usually plenty.
Safety note: linseed oil and similar drying oils generate heat as they cure. Never leave bunched-up oily rags in a pile or in a bin — spread them flat outside to dry, or soak them in water before disposing of them.
Fitting the Shelf to the Wall
Hold each bracket against your pencil line and mark the screw holes, checking with the level as you go. Drill the holes, insert the plugs, and screw the brackets firmly in place. If the wall is uneven, small washers behind a bracket will stop it rocking.
Lay the shelf on top and slide it until the overhang looks even at both ends. Mark the bracket holes onto the underside of the board, take the shelf down, then drill pilot holes — dry reclaimed timber splits easily, especially near an end. Countersink each hole so the screw heads sit just below the surface, then screw up from underneath, which keeps the fixings hidden.
Check that the whole thing sits level and that nothing rocks. A shelf that creaks when you touch it will keep annoying you.
A Few Final Tips for a Shelf That Lasts
Dust with a dry or slightly damp cloth, and re-oil once a year or whenever the surface starts to look thirsty. Keep an eye on the span: if the board begins to bow, add a third bracket rather than piling things back on. In a bathroom or kitchen, seal the timber properly, as constant damp will undo all your work.
If the wall is old, crumbly or you simply are not sure it will take the weight, ask a qualified tradesperson before you drill. And once it is up, style it with a few things you actually like — a small plant, a couple of books, one good object — and leave the rest of the space alone.
Photo: Tim Mossholder / Pexels